Need Assistance?
If you have any question feel free to contact us!
Installing a backsplash may appear to be a difficult procedure, but with the appropriate direction, you can simply complete this do-it-yourself project. This blog will provide you with a comprehensive splashback installation guide, complete with step-by-step instructions and helpful tips. Whether you’re working with glass, acrylic, or tiles, this guide will walk you through the process, from preparing the surface to adding a protective layer.
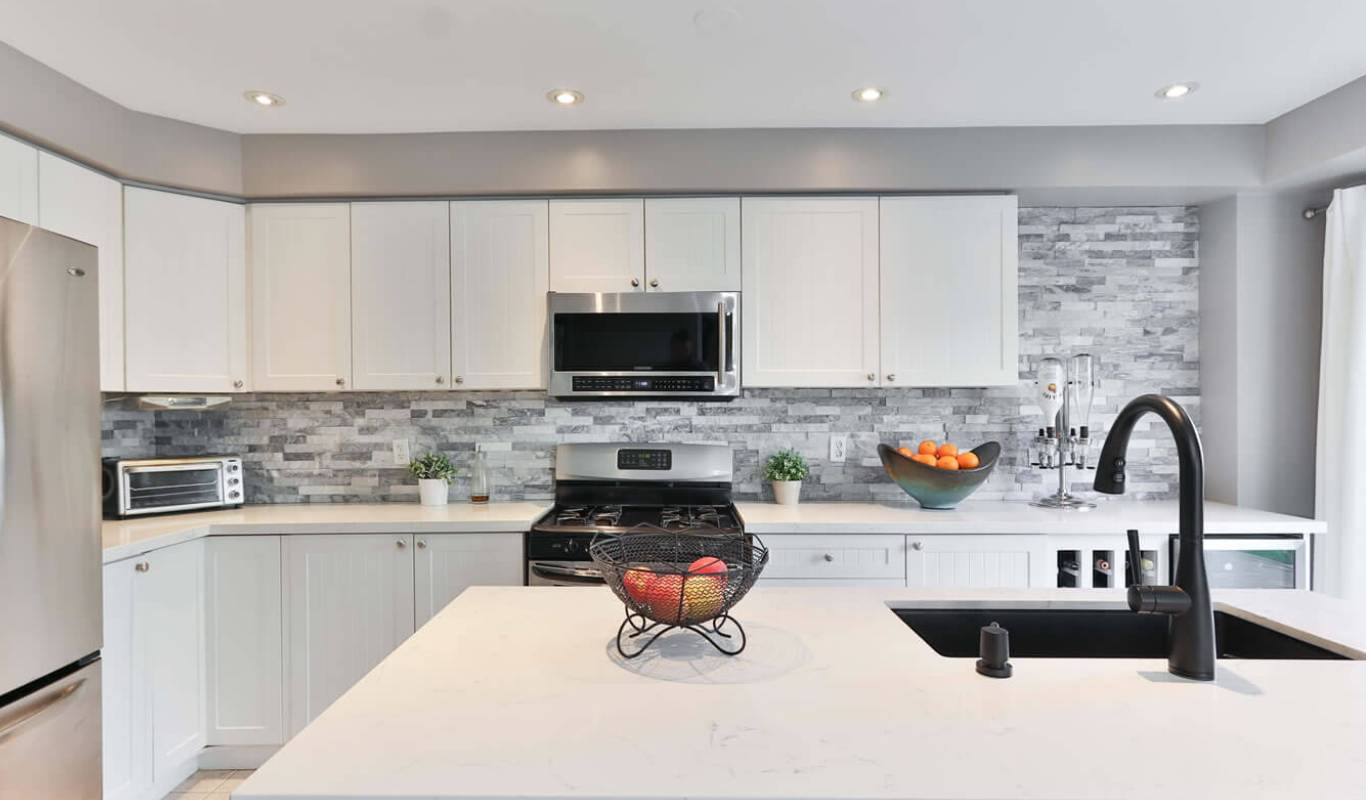
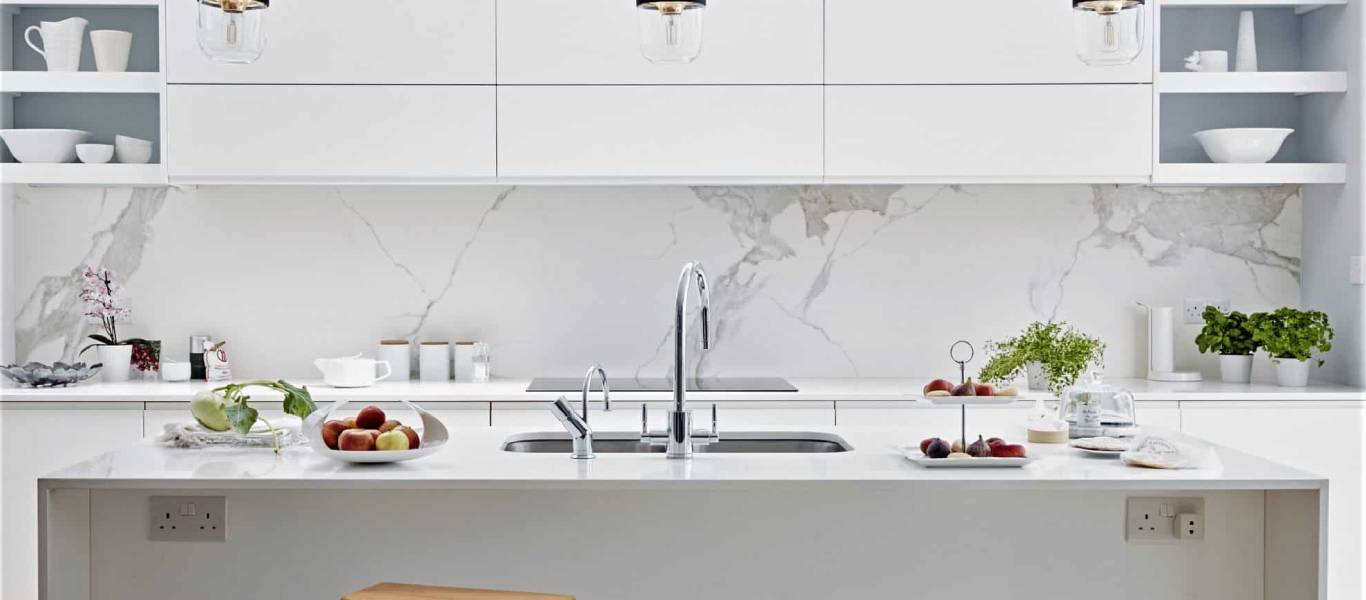
Splashback is a sheet of acrylic, glass, tiles, or stainless steel used to protect surfaces and walls from any splashes, including grease stains, spillage, or watermarks. They are commonly used in bathrooms and kitchens. Aside from splashes, kitchen splashbacks also protect walls from heat.
Need Assistance?
If you have any question feel free to contact us!
Before you begin the installation procedure, make sure the surface is clean, dry, and debris-free. Remove any existing tiles, wallpaper, or other materials first. Smooth away any rough places with a scraper or sandpaper to create a uniform surface. Before proceeding to the following step, clean the area thoroughly with a light detergent and allow it to dry completely.
For a successful splashback installation, precise measurements are essential. Measure the dimensions of the area with tape where you intend to put the splashback. Keep in mind any electrical outlets or fixtures that may want special treatment. After you’ve taken your measurements, cut the splashback accordingly. Use a jigsaw or circular saw for cutting if you use glass or acrylic splashback. When working with tiles, use a tile cutter to ensure precise cutting.
Selecting the right adhesive for your splashback material is vital to ensure strong and long-lasting adhesion. Check the manufacturer’s guidelines and choose an adhesive that is appropriate for your particular surface. Apply the adhesive evenly on the back of the backsplash, ensuring it is completely covered. To improve adherence, form ridges in the glue with a notched trowel. Follow the curing time requirements specified by the adhesive manufacturer.
Place the splashback on the wall carefully, aligning it with your previous measurements. Begin at one end of the backsplash and take it to the other end by gently pressing it against the wall. Make sure it’s level and straight. If you’re installing tile splashbacks, use tile spacers to keep the tiles evenly spaced. Before it dries, wipe away any extra adhesive with a moist cloth.
It is critical to seal the joints to prevent water and dirt from entering the spaces between the splashback and the wall. Apply a high-quality silicone sealer to the splashback’s edges and corners. To obtain a precise and professional finish, smooth up the sealant using a caulking tool or your finger. Allow the sealant to completely cure before exposing it to dampness or water.
Consider applying a protective layer to your splashback to protect it and increase its durability. Depending on the material, you can apply a transparent varnish, sealer, or adhesive film. Apply the protective coating as directed by the manufacturer, ensuring complete coverage. This additional layer will aid in the protection of your splashback against stains, scratches, and ordinary wear and tear.
Yes, a splashback can be installed over existing tiles. However, ensuring the surface is clean, flat, and in good condition is essential. To achieve effective adhesion, use appropriate glue.
Most splashback materials can be cleaned with a soft cloth and mild detergent. Scouring pads and abrasive cleansers can harm the surface, so they should be avoided. Specific cleaning procedures should be followed according to the manufacturer’s guidelines.
Splashback installation is a do-it-yourself project, especially if you have previous experience with home renovation projects. However, you should always seek expert help if you are unsure or uncomfortable.
Splashback materials such as glass, acrylic, or tiles can be cut by hand. However, using the necessary instruments and taking proper safety precautions is important. If you are unsure, it is better to seek professional advice.
A backsplash may significantly improve the appearance and utility of your kitchen or bathroom. You can install a backsplash confidently and enjoy its beauty and functionality for years to come if you follow our step-by-step guide and the manufacturer’s instructions.