How to Fit a Kitchen Worktop | 3-Step Process

Table of Contents

How to Fit a Kitchen Worktop

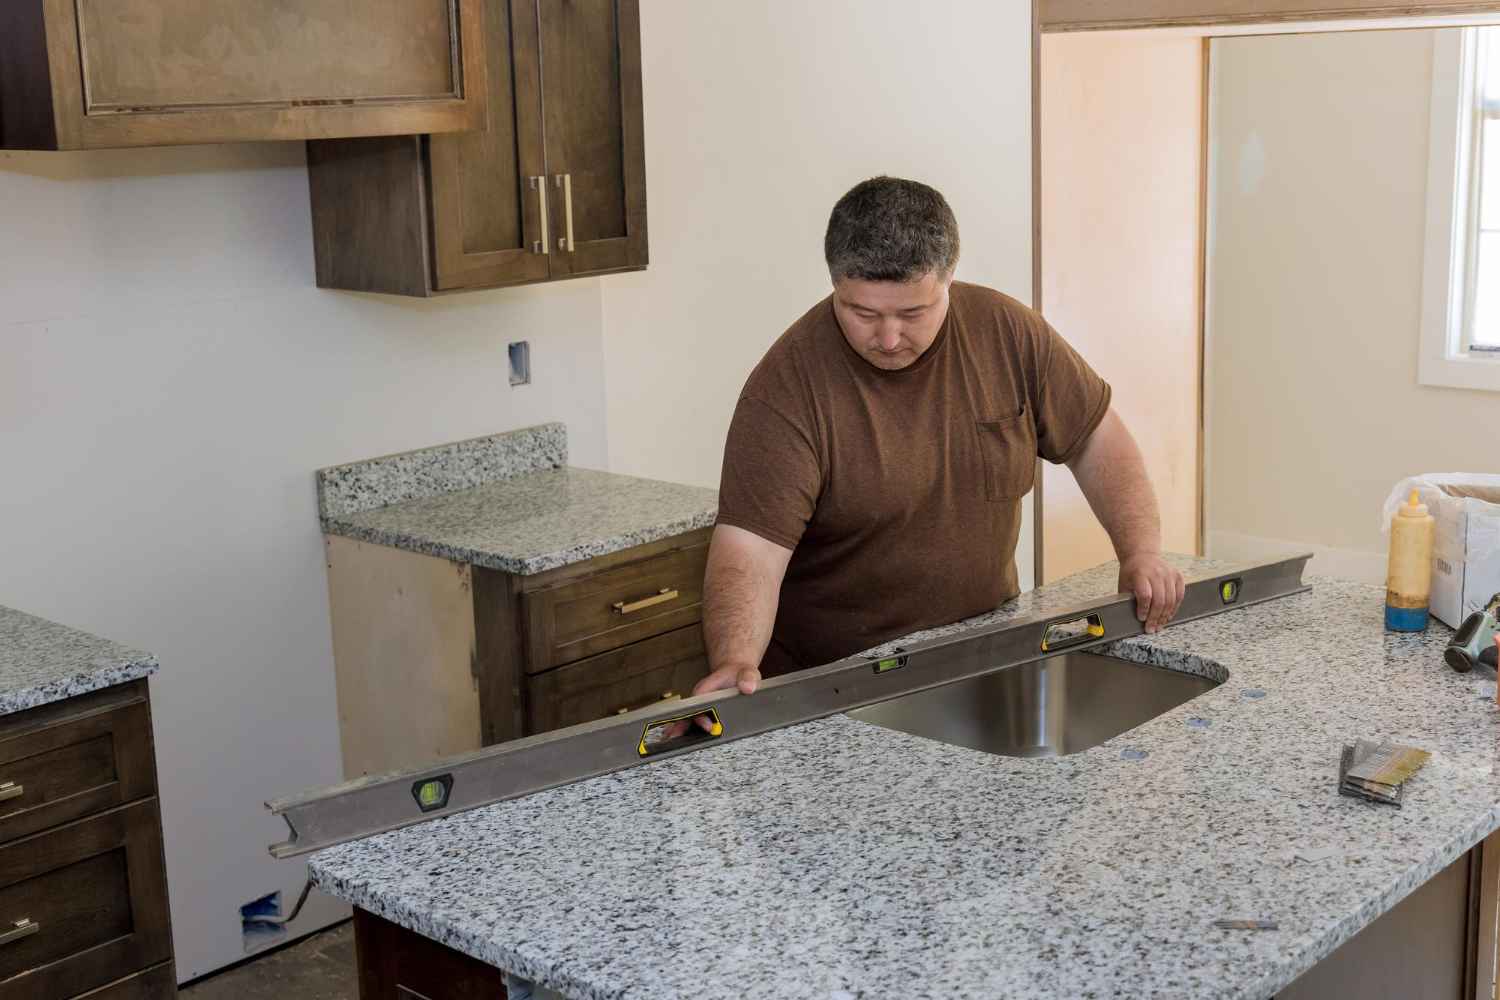
Installing new worktops in your kitchen helps transform the appearance of the entire space with a fresh look. Worktops also make your kitchen hygienic by allowing easy cleaning and making them resistant to stains, scratches, and microbial growth. Thus, the worktop surfaces require minimum maintenance and last longer.

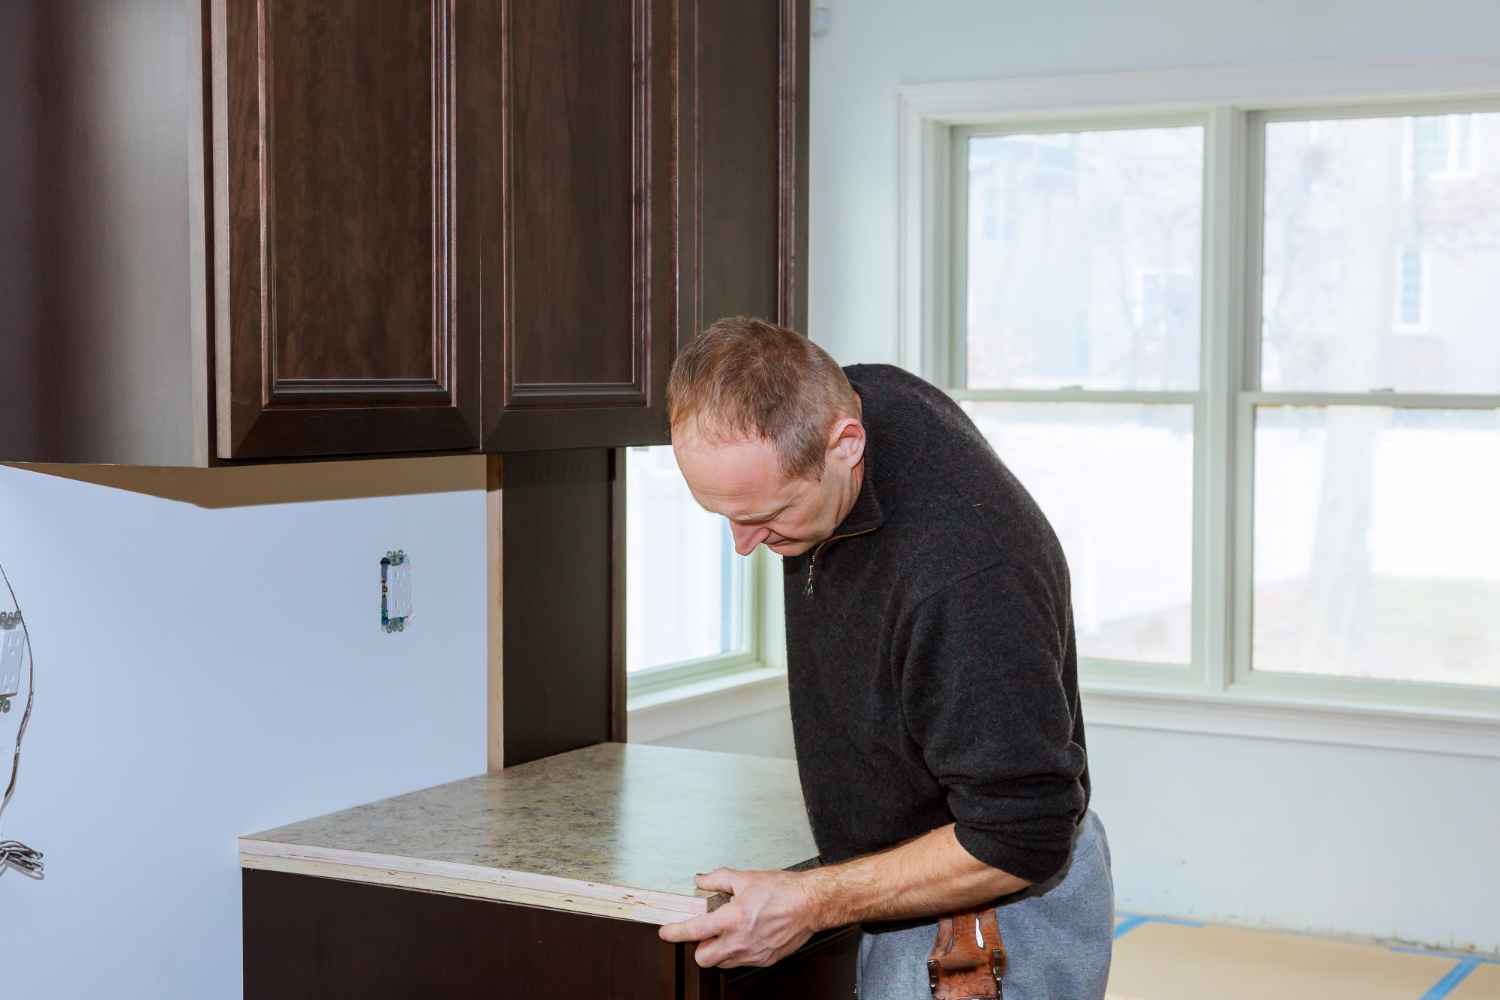
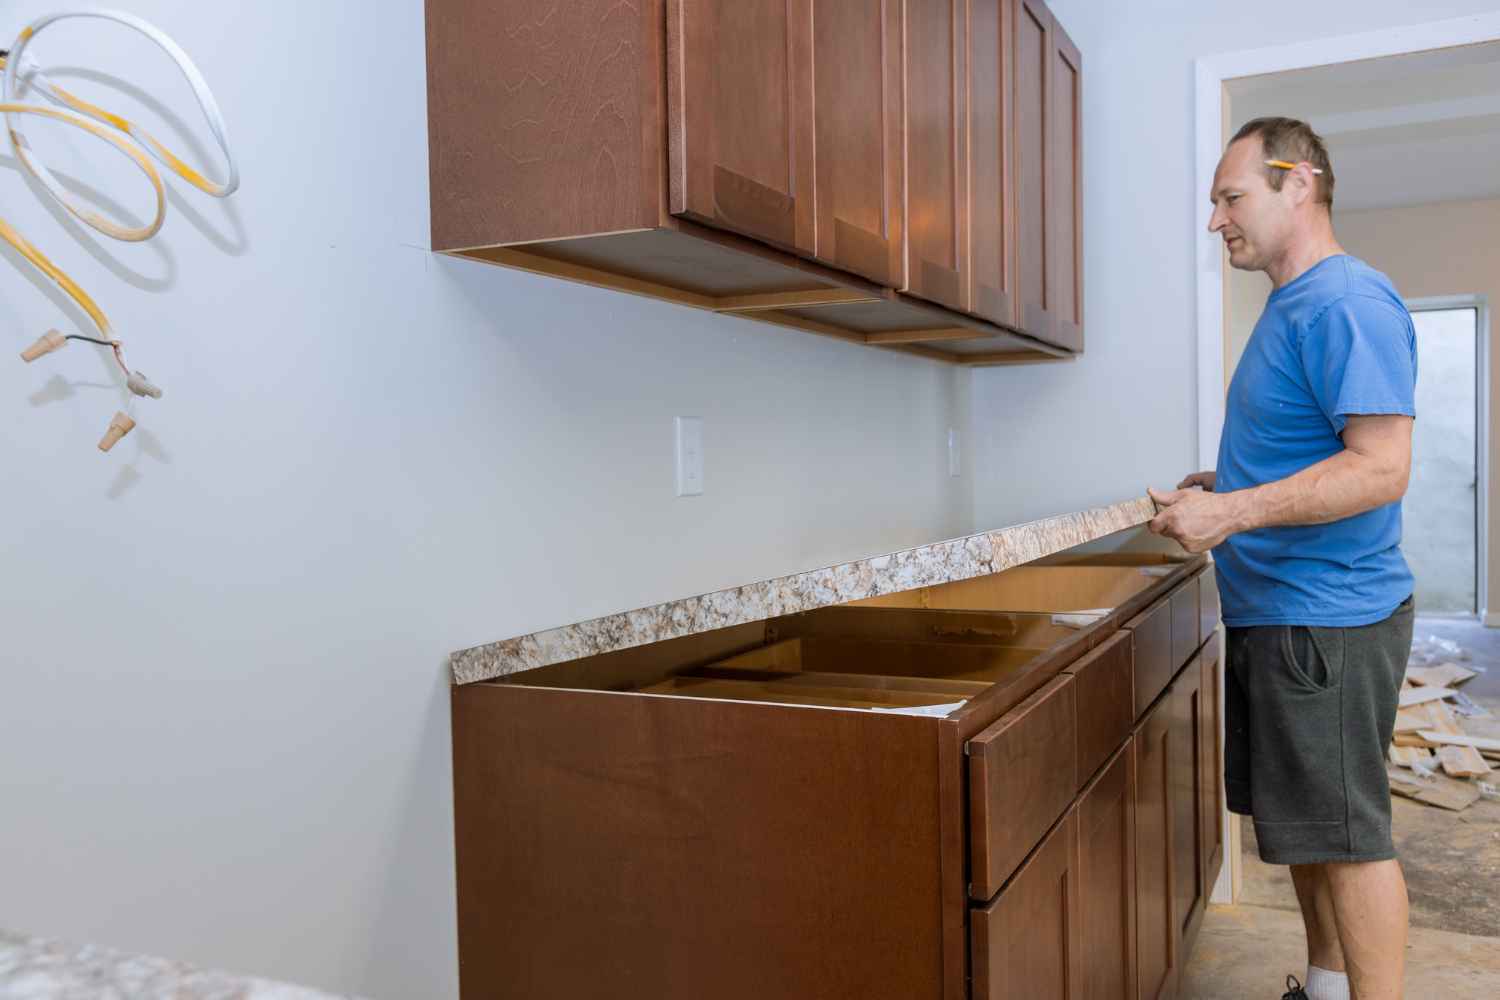
This guide explains the procedure of fitting a kitchen worktop in three steps: cutting worktop slabs, installing worktops, and covering worktop edges. In the end, some important points to remember are also given to fit a kitchen worktop perfectly.

Need Assistance?

If you have any question feel free to contact us!

Fitting A Kitchen Worktop – Steps Involved

The step-by-step procedure for completing all the stages of fitting a kitchen worktop has been explained below:

Worktop Slabs Cutting

  • Measure the available space for worktops along the wall by using a measuring tape.
  • Trace the measured dimensions directly on the worktop slab.
  • Place masking tape over each cutting line.
  • Wear goggles and a face mask to ensure your eyes and face remain properly protected from chipped material.
  • Cut the worktop along the marked line to achieve the desired shape.
  • Mark the spots where the sink and cooktop will be installed.
  • Move the worktop to the location where it is to be installed and cut the holes for the sink’s water line and cooktop’s or hob’s gas or electrical lines.
  • Trace the sink and cooktop on the surface of the worktop by flipping them over the worktop.
  • Create guiding lines with the help of masking tape and a marker pen.
  • Move the marked lines inward by 5-10mm to allow easy overlapping of the sink and hob over the worktop for their safe installation.
  • Cut the traced areas by using a saw and wearing safety goggles and a face mask.
  • Take a sandpaper and file down the rough edges of the worktop.
  • Smooth over the utility holes and outer edges of the worktop.
  • Ensure that the edges of worktops are level, not sharp, before installing them.

Worktop Installation

  • Place the central worktop on the supporting frame so that it fits appropriately against the wall.
  • Take an aluminium joining strip to connect two pieces of worktop.
  • Mark the width of the worktop on the joining strip.
  • Clamp the joining strip on a cutting table and cut it along the marked lines with a saw.
  • Hold the joining strip up to the cut edge of the worktop to ensure it is perfectly cut.
  • Hold and screw the joining strip to the worktop against the edge to be connected to the other worktop piece.
  • Add a layer of silicone sealant to the worktop edge that will be inserted into the joining strip.
  • Slide the edge of the worktop into the strip to install it in place.
  • Pierce the worktop’s top surface with a long drill bit.
  • Drill two holes at each end of the wooden support and one in the middle for installing the clamp.
  • Place screws in each of the drilled holes and twist them for tightening.
  • Ensure the worktop does not budge by trying to move it.

Worktop Edges’ Covering

  • Measure the length of the worktop’s outer exposed edge from where it was cut.
  • Mark the laminate strips based on the measurement of the worktop’s outer edge.
  • Cut the laminate strip to size.
  • Spread the contact adhesive on the strips and edges of worktops by using a paintbrush.
  • Place a towel on the counter and put the strips over it with their adhesive sides facing up to allow them to dry.
  • Take the laminate strips and line them up against the outer exposed edges of the worktop once the adhesive has been dried.
  • Press the strips to the edges so that they get stuck in place properly.
  • Wear down the strips to make them as smooth as the worktop surface with the help of sandpaper or a fine file.
  • Shave off the excess material by using a crafting knife.
How to Fit a Kitchen Worktops

Things to Remember!

  • Connect two slabs or divide a slab into two pieces with a diagonal cut when building around corners.
  • Select the type of saw to cut the worktop based on its material.
  • Hide the rough cuts of the worktop by positioning them against the wall or under the joining strips.
  • Never place the sink’s water line and cooktop’s electrical or gas lines between two worktop slabs.
  • Start worktop installation by placing the middle worktop first.
  • Choose the drill bit based on the thickness of the worktop.
  • Cut the laminate strip a little off the top and bottom so that it fits perfectly on the edges of worktops.
  • Keep your kitchen ventilated while painting contact adhesive on the strips and worktops’ edges.
  • Cover the surface of the worktop so that contact adhesive does not drip on it.
  • Check the manufacturer’s guidelines to confirm how much time is required for drying the adhesive.