Need Assistance?
If you have any question feel free to contact us!
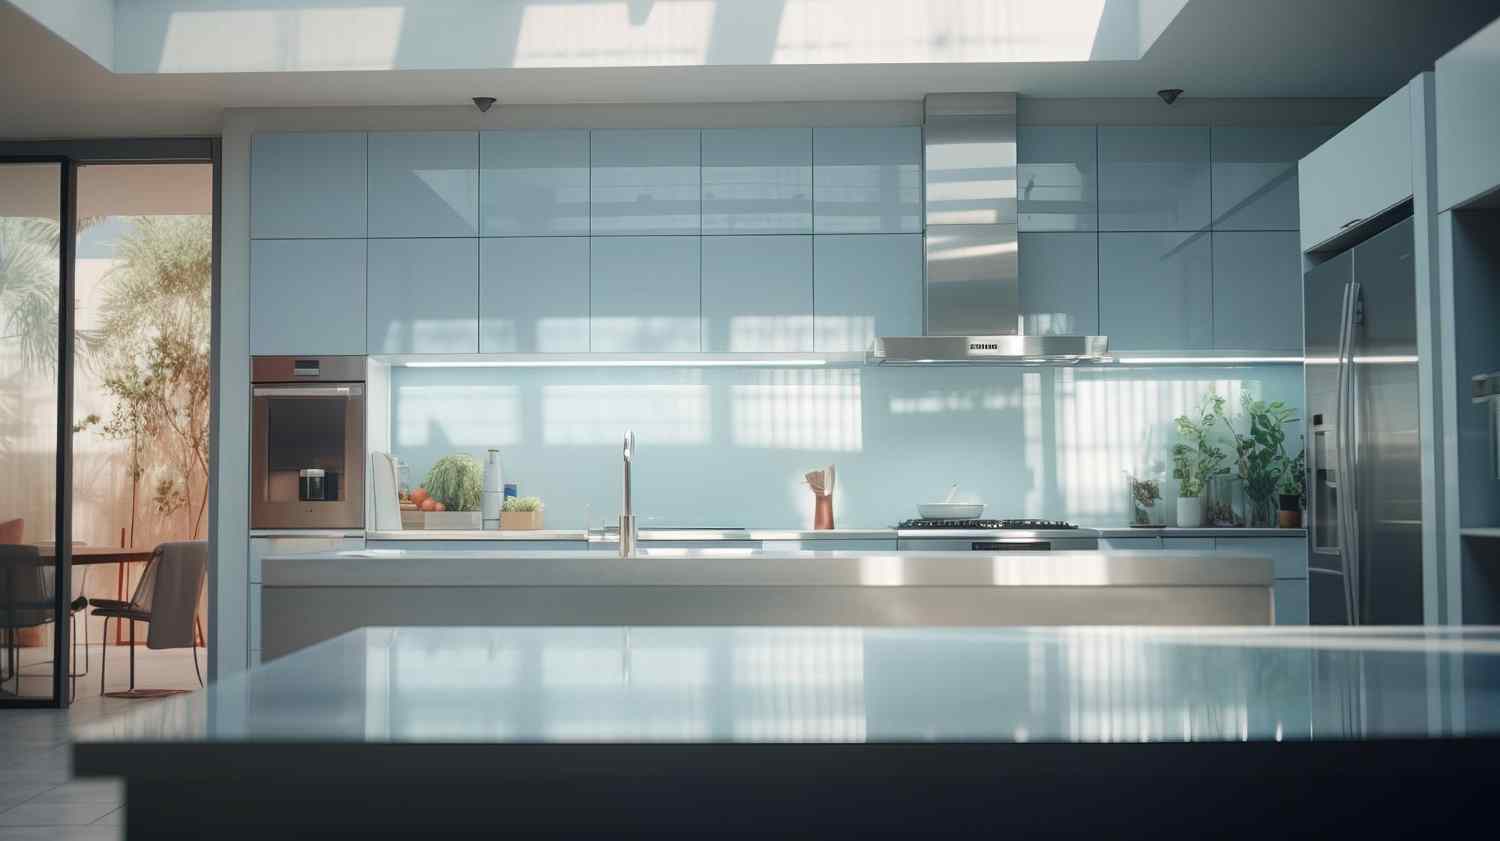
Glass splashbacks are highly aesthetic and can provide incredible utility and visual appeal in various settings. They can be installed in kitchens, bathrooms, shower enclosures, laundry rooms, and bar areas. They can be used in residential and commercial properties. In kitchens, they are installed behind stoves to protect the kitchen wall from food splatters and grime while adding to the aesthetics of your kitchen. When it comes to bathrooms, they are often installed behind vanities and in shower enclosures.
You can also install them in your laundry rooms to make them look cleaner and protect your walls from splashes. They can be customised for decorative purposes and installed in various settings. When you decide to get a glass splashback for your kitchen or bathroom, it is always advisable to hire professionals for fitting. However, if you want to try installing and prefer the DIY route, follow our simple DIY guide below to get a perfect fit.
Need Assistance?
If you have any question feel free to contact us!
Fitting a glass splashback requires at least some fitting skills, but if this is your first time fitting anything and you have decided to travel the DIY path for installing glass splashbacks, you will need the following tools:

Whether you want to install a glass splashback on your kitchen wall behind the stove or in your bathroom, you must inspect the wall before installing. You will have to remove any paintings, wallpapers, and tiles. You should also ensure that the wall is levelled and uniform. Once you have ensured that, clean the wall with a rag.
Measure your splashback if you don’t know the dimensions and write them down on paper. Measure the area where you intend to fix the glass splashback. Record the length and the width. Repeat the measurement to make sure that your readings are accurate. Mark the measurements on the wall with your pencil.
Spread the silicone adhesive on the splashback’s back side. Make sure it is spread evenly. Take help from a friend or a family member to lift the splashback and align the boundaries with the pencil marks you made on the wall. Visually check the alignment and make changes if necessary. The best way to confirm the right alignment is to use a level on the top edge and any vertical edges. If the spirit level is in the centre, you have perfect alignment.
With the splashback aligned with the wall markings, press it against the wall to ensure it sticks to the wall. Be careful while applying pressure. A little should be enough. You can hold the splashback in position by using masking tape while ensuring it does not come in contact with the silicone adhesive. Read the manufacturer’s instructions to give ample time for the adhesive to act. This is typically one to two days.
Remove the masking tape after the adhesive has dried. Remove excess silicone and fingerprints using rubbing alcohol or a cleaner. Use the caulking gun to fill up any gaps with silicone. Congratulations! for installing your glass splashback successfully.
Gass splashbacks impart considerable visual appeal to your interior. However, a dirty one will do exactly the opposite. Follow our tips below to keep your glass splashback looking fabulous.