Can you Paint a Laminate Kitchen Worktop? In-Detailed Guide

Table of Contents

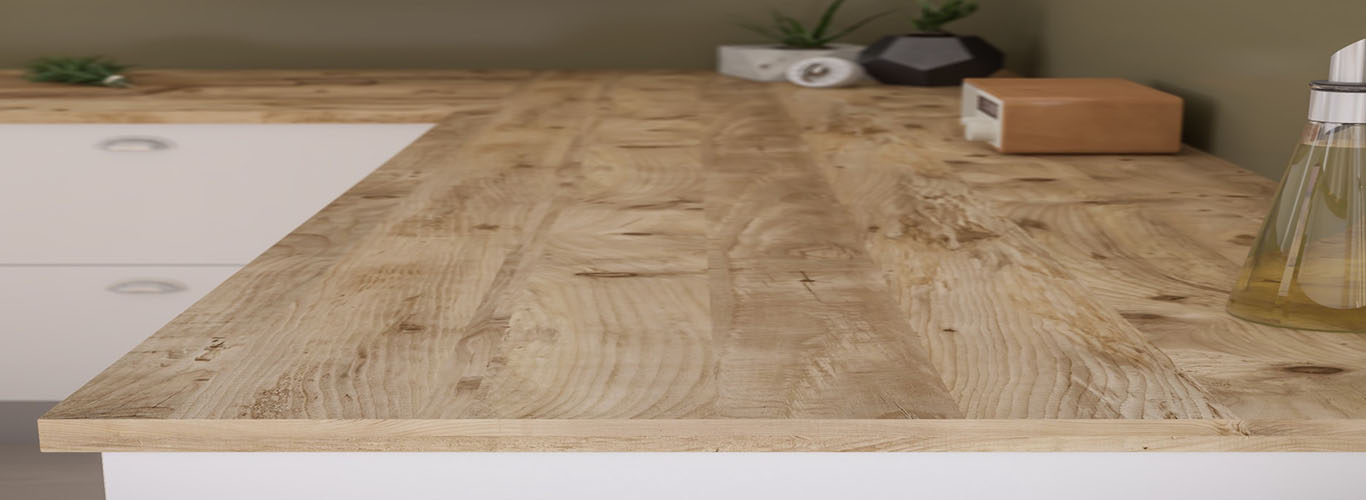
Yes, it is possible to paint a laminate kitchen worktop. It’s a suggestive way to restore the older, stained kitchen worktop instead of replacing it with a new one for several reasons. First, replacing a new kitchen countertop may be a pricey choice since you have to purchase a new one and call a professional fitter to set it up, which is costly.

Moreover, removing and installing a kitchen counter disrupts the kitchen in most cases which is a headache for homeowners, and painting the laminate top can save you from it. Interestingly, painting a laminate kitchen worktop will help you update the kitchen look, cover up any existing damage or stains, or protect the surface from future wear and tear.

Tips When Painting Laminate Kitchen Worktop

Consider the following tips when painting a laminate kitchen worktop to ensure a safe and effective transformation.

  1. Ensure the worktop is thoroughly cleaned and free of grease, dirt, or debris before painting.
  2. Use a high-quality primer that is specifically designed for laminate surfaces to ensure proper adhesion.
  3. Follow the manufacturer’s instructions for the paint and allow ample drying time between coats.
  4. Use proper ventilation and wear protective gear such as a mask and gloves when working with paint and chemicals.
  5. Avoid placing hot objects directly on the painted surface to prevent damage.
  6. Be cautious when cutting or chopping on the surface to prevent scratches or chips.
How to Paint a Laminate Kitchen Worktop

How to Paint a Laminate Kitchen Worktop?

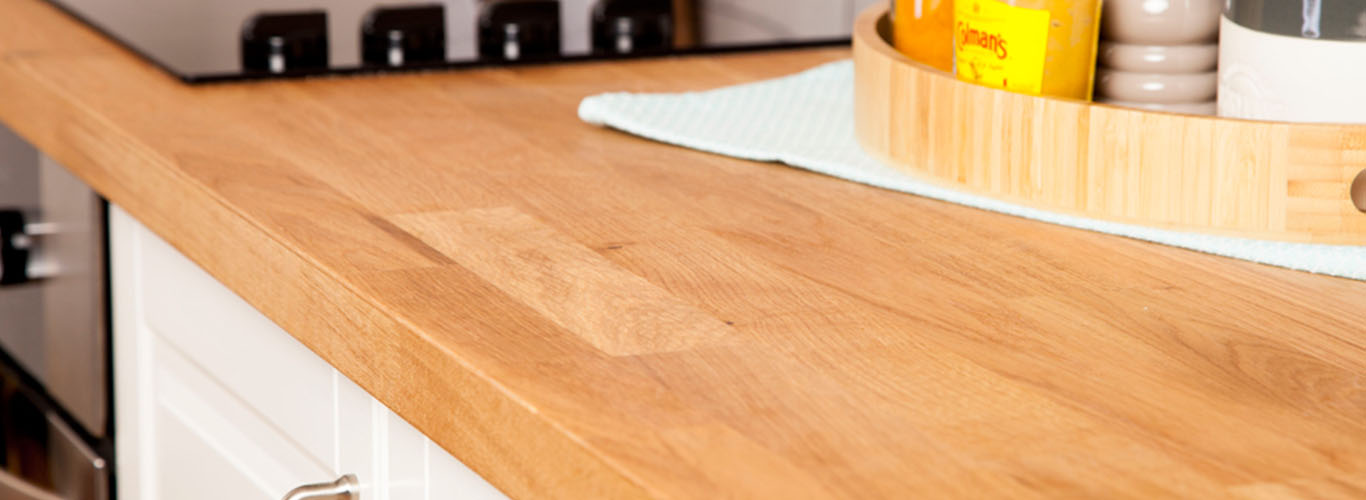
Note: The process/ steps of painting a kitchen worktop may vary depending on the kitchen, your personal preferences, and the instructions the manufacturer has listed for a particular paint. But the most common steps for painting a laminate kitchen worktop are included as follows.

1. Gather Required Tools and materials:

The followings are the tools and materials required for painting a laminate kitchen worktop.

  1. Laminate paint
  2. Primer
  3. Small paint roller(s)
  4. Sanding blocks
  5. Paint tray, protective plastic, tape
  6. Countertop Epoxy
  7. Goggles, Gloves, Ventilator mask
  8. Bucket
  9. Sponge, Broom
  10. Vacuum

Note: Gathering all these tools and materials before painting is essential. This will ultimately save you a lot of time and enhance your creativity.

2. Make Everything Ready:

Once you have gathered all the necessary tools and equipment, it’s time to prepare the tools, kitchen, and workspace for the painting. Follow these steps:

  1. Remove all the items from the worktop surfaces to make room for painting.
  2. Take any open food out of the room or store it in sealed containers to prevent any food contamination from the paint or chemicals used during the painting process.
  3. Use protective painter’s tape and plastic film to protect your kitchen from accidental paint drips or splatters.
  4. Open the windows and turn on the exhaust fans to ensure proper air circulation during the painting process and prevent inhalation of fumes or chemicals.

3. Wash, Sand, and Clean the Countertop:

  • Clean the surface with kitchen cleaner, detergents, soap, and water to remove all the dust, clogged oil, and other residues.

Note: Avoid using ammonia-rich cleaners when cleaning the granite and laminate surfaces.

  • Take a power sander or sanding block and start buffing the surface; keep repeating it until the surface is shining off and smooth.
  • Fill the chips or gaps on the surface with the countertop epoxy.
  • Vacuum the dust and clean the surface with a wet cloth.

4. Spread the Primer Coat:

  • Once the surface is sanded appropriately and cleaned, apply the prime coat carefully and evenly.
  • Use the paint roller to spread the primer coat evenly throughout the worktop surface.

Note: Some manufacturers say ‘it does not require an undercoat’ for many paints. Don’t listen to it; do it anyway to ensure a future-proof kitchen worktop. Primer is designed to enhance the bonding capabilities of the paint and laminate surface, so it’s necessary.

  • Once the primer is applied, let it dry for a night, an entire day, or according to the label; do not close windows and ensure proper ventilation.

5. Apply the First Colour Coat:

  • Pour the worktop paint into a tray, filling it only halfway to prevent spills.
  • Take a clean paint roller.
  • Dip the roller into the paint, ensuring it is evenly coated and use it to apply an even coat of paint over the entire surface of the worktop, working in a back-and-forth motion.

Note: Be careful not to apply too much pressure, as this can create uneven patches

  • Use a small angle-tip brush to provide good coverage in the back corner of the worktop surface, where the roller may not be able to reach.
  • Let the paint dry completely according to the manufacturer’s instructions. This may take several hours.

6. Go for Another Colour Coat (optional)

  • If you think the laminate surface isn’t painted completely or the colour isn’t shining much, you can apply another layer of paint.
  • Once the first layer is appropriately dried, apply another colour coat evenly throughout the surface.

7. Apply a Clear Acrylic Coat:

  • Once the paint is completely dried out, apply a clear layer of acrylic or glossy resin as a top coat.
  • Wait until this is completely dried.

Note: After you have painted and applied a protective coat, the countertop may take over a week or two weeks, depending on the worktop, paint, and protective coat. Wait until it’s completely dried to ensure longevity.

Need Assistance?

If you have any question feel free to contact us!

Pros and Cons of Painting a Laminate Kitchen Worktop

Pros

  • Cost-effective than other solutions
  • Customizable according to your needs and expectations
  • Easy to do yourself
  • Easy to clean and maintain

Cons

  • May require frequent touch-ups
  • Can be time-consuming
  • It may not be as durable as other options
  • Surface preparation can be difficult